|
Do you have a system for Artwork? I know that at first, the artwork is cute and comes home a few masterpieces at a time. But then, unless you have a proper home for all things artwork, it starts to just collect and overflow on your refrigerator, walls, tables, or other dumping ground before you get around to properly preserving the precious memories.
Here's what you can do to tame the Artwork and set yourself up for lasting memories for you, your kids, and even grandparents! Now before we get into the systems, establish three rules of thumb to classify your artwork:
A) Destined for the recycle bin - The piece needs to pass the test of made and loved by your child. Did your child actually make it? Can your child tell you about how they made it? What would they “call” it? Do they remember making it a day or two later? If yes, they did in fact make it and love it, then perhaps you shouldn’t use it as kindling just yet.
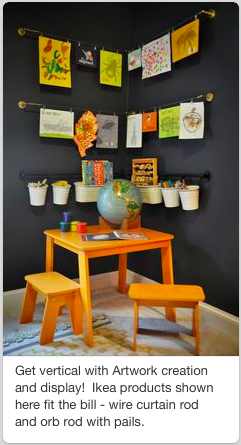
B) Nice representation - If your child made it and loves it, then its worthy of display and later digitizing, and can eventually be recycled. C) Masterpiece - Select pieces representing your child’s growth can be displayed, digitized, and then held on to as a keepsake. Choose just a few per year in this category. If artwork is three dimensional, its simply too bulky to fall into this category and impractical for archiving. Now onto the three elements of a simple system for taming your kids’ artwork: First, get yourself a system for displaying masterpieces as they come home. A hanging clip and cable system (or curtain rod with clips, or string with clothespins, etc.) is a perfect idea for a empty wall or hall in your home. Choose a location and a system that will suit you and your family long term. If you have two kids, consider two small walls or two lengths of cable. The fixed length of the cable/string is perfect for your budding artist to pick and choose what to rotate what's on display. As the artwork comes off the display area, you can digitize it, recycle, or preserve it as a keepsake (more on that later).
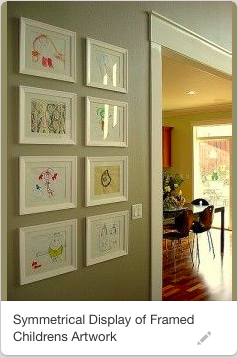
You can also create a gallery of framed artwork and swap out what is inside the frames.
Having a fixed space for this helps empower your child to make the decision as to what stays, what goes, and really what the masterpieces are amongst all the favorites in their eyes.
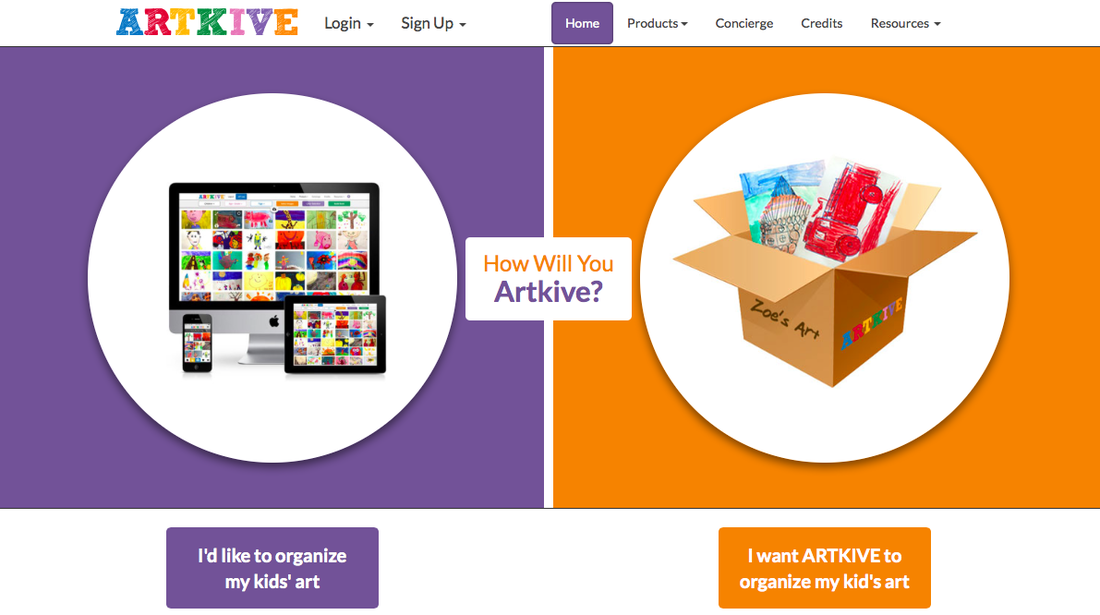
Next, get yourself set up to digitize the artwork. This digital system should be more than simply just taking pictures and keeping those pictures among all those smiling and happy faces on your phone. Its best to keep artwork separate so it won’t get lost in the fray of photos. Keeping them separate enables you to create a perfect coffee table book at the end of the year for graduation or for the perfect grandparent gift for the holidays. You can also capture and preserve any 3D creation your child erects such as their latest LEGO, wooden block, or playdoh piece of architectural genius. The frontrunner in the digital space is Artkive. Its an app that makes it super easy to capture artwork by child and date. They have a concierge service for those with a huge box or backlog of artwork already so they can handle digitizing for you. Their product line is quite impressive as not only do they have custom books, but also a phone case, blankets, pillows, a hanging wrapped canvas, a shower curtain, mouse pads, acrylic blocks, beach towels, tablet cases, folded cards, mugs, puzzles and more! Creating a book with artwork takes just a couple of minutes with Artkive since everything is set up so easily and is incredibly organized. BONUS TIP: Digitizing takes the guilt away from recycling the art. When in doubt: Artkive and toss :)
Another digital solution is simply tagging artwork as another person or child. For instance, if your favorite photo service is Lifecake, simply add another “child” as your son’s artwork for instance. Thus, you can easily just see all the artwork in one place and create a photo book or other memento easily.
Finally, set your child up with a proper keepsake box, portfolio or binder. For keepsake boxes, I love the semicolon line (see and click box below) but a simple box from IKEA does the trick too. Its more important to have the box easily accessible and labeled ahead of time, designating which child and phase the box is for.
I have a box for the preschool years, elementary, etc. and then one for every decade or phase of my life. Photos and other keepsakes get thrown in but are limited to the box.
Porfolios or binders are easy to set up as well, but make sure they are also easily accessible so that you actually put the masterpieces away before they get ruined. I love pre-loading my binders with document sleeves so slip in the artwork. Bonus: You can treat greeting cards, school work, etc. similarly. The same principals apply: Digitize the best and and toss and only archive a few per year.
With this simple system of displaying favorite pieces, digitizing with Artkive, and having a place for the few key masterpieces helps streamline the influx of artwork that comes in the door. Not to mention eliminating the guilt of tossing since you are “Artkiving" first ?
As always, comment below if you’ve gained some inspiration or learned anything new in this post. Share your solutions for all things artwork. Want to chat? Need a custom solution for your situation?
3 Comments
7/14/2016 07:38:59 pm
Let me add one more idea for anyone set on archiving kids art work. Trust me, with a creative 15 year old at home I've unstuffed plenty of ART over the years. Make photos of favorites, you can then make a simple photo book/record. I've also copied and reduced in size some fun drawings using them as cards.
Reply
Leave a Reply. |
Topics:
About MeSarah is passionate about helping people transform family chaos into stress-free and happy living. Want Updates?
Tags
All
|


